Magento 2
Overview
Acquired.com presents a cutting-edge payment plugin tailored for Magento 2 platforms, consolidating multiple payment methods into one seamless solution.
Leveraging our Components solution, our plugin will elevate your e-commerce platform's efficiency, security, and user experience. With competitive fees, dedicated support, and hassle-free integration, we empower your business to thrive in today's competitive digital landscape.
Key Features
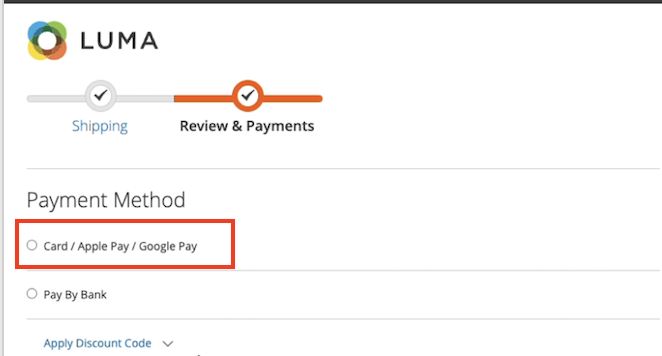
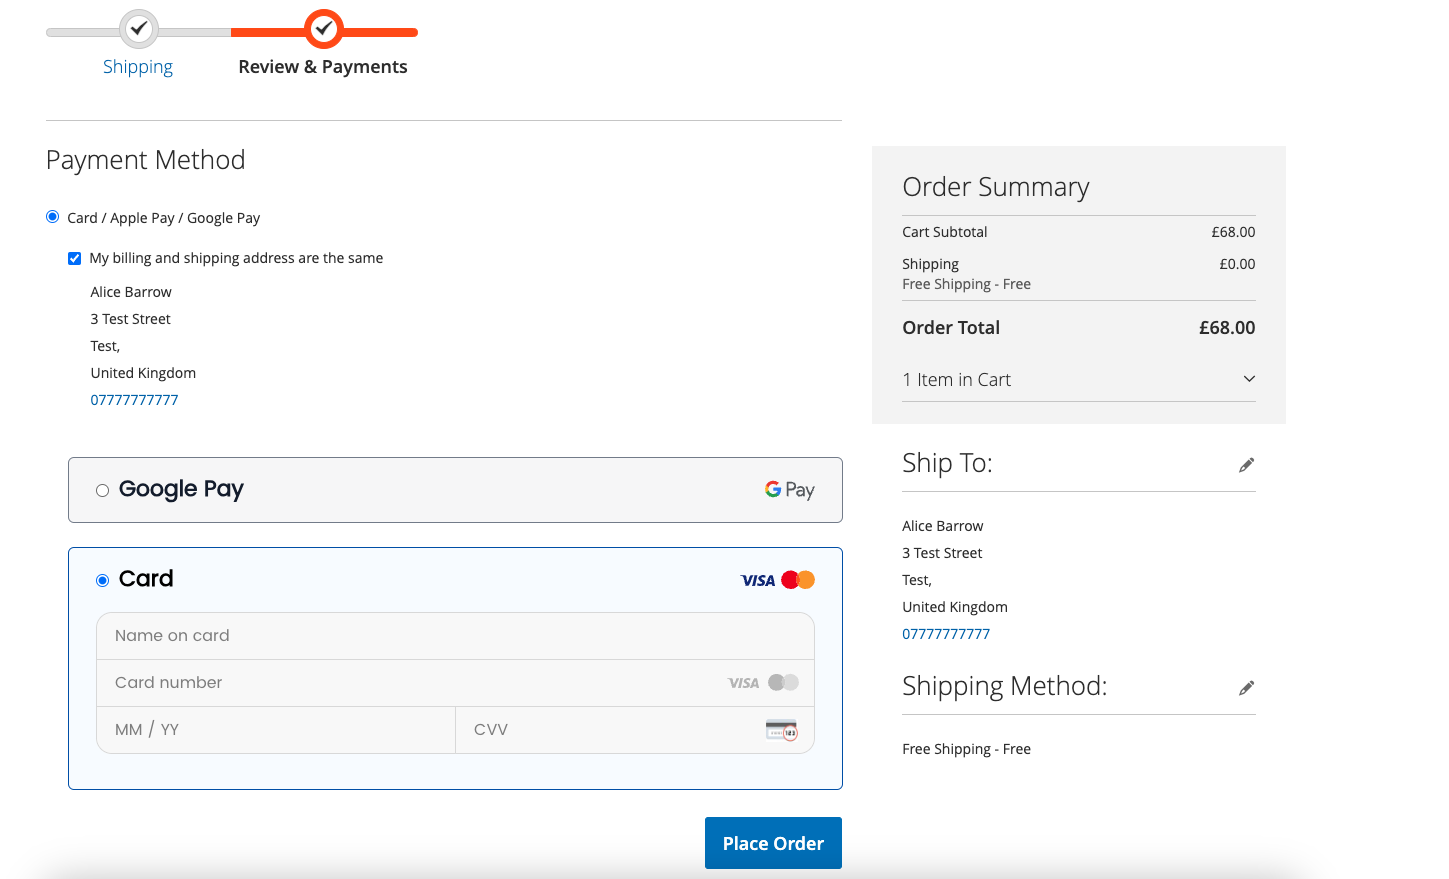
- Unified payment methods: Including the following supported payment methods; card payments, Apple Pay, Google Pay and Pay by Bank.
- Quick integration utilising our Components solution.
- Seamless journey with no redirects.
- Simplified PCI DSS compliance, qualifying for SAQ-A.
- 3DS built in.
- Tokenise card details so customers can experience a faster checkout experience by saving their card details.
Supported Versions
The Acquired.com plugin is compatible with all of the latest versions of Magento 2.4.4 and above. We are able to provide support if you are using the default Magento Checkout or one-step checkout.
Setting up the Acquired.com extension
Follow these steps to set up your Magento 2 plugin.
Step 1: Set up your Acquired.com account
To begin, you'll first need access to our test environment in order to carry out the necessary configuration steps. Contact us and we will create your test account. Once we have created your account you will receive an activation email. Visit our test portal and login using your registered credentials.
Once you have accessed the Hub, you then need to obtain your API keys.
- Go to Settings > API Access.
- Locate your
app_id,app_keyandpublic_keyvalues. (These will be required for the Magento Configuration.)
For more information on Authentication, please refer to our guide.
Step 2: Install the plugin
Acquired.com's Magento 2 plugin is open-source and available through Github.
- Magento repository link: https://github.com/acquiredcom/acquired-payments-magento
- Install the plugin:
composer require acquired/module-payment
- Enable the plugin:
bin/magento module:enable Acquired_Payment
- Execute the update scripts:
bin/magento setup:upgrade
- To flush cache storage:
bin/magento cache:flush
Step 3: Configure the plugin
The next stage involves completing all the steps required to configure the Acquired.com Magento 2 plugin.
- Log in to the Magento 2 Admin Panel.
- Navigate to Stores > Configuration.
- In the Configuration section, go to the Sales tab and select Payment Methods.
- In the Recommended Solutions section, locate and select Acquired.com. (Note: After a successful download and installation, Acquired.com should appear in this section.)
General configuration
Use the following information to configure the required fields:
- Integration Mode: Select the environment you are configuring—Test or Production. Ensure you use the appropriate API keys relevant to the chosen environment. (Note: You can set up two integration modes simultaneously.) (Required)
- App ID: Enter the unique ID assigned by Acquired.com to your application. Refer to the authentication guide for details. (Required)
- App Key: Input the secret key used as part of the authentication process. See the authentication guide for more information. (Required)
- Public Key: Provide the public key exposed on the client side. Refer to the components documentation for details. (Required)
- Company Name: Input your company name, if applicable. This is useful for merchants with multiple companies configured within their account. (Optional)
- Company ID: Enter the corresponding Company ID, if required. Refer to our documentation for further guidance. (Optional)
- MID: Input the relevant MID, if needed. See our documentation for further information. (Optional)
- Override CSP mode to Report-Only: Always set this field to 'Yes' (Required).
- Javascript Hash: Provide the sha384 integrity hash, which can be found in the client-side configuration documentation. (Required).
- Enable Debug Logging: Enable this option if enhanced logging is needed. (Optional)
- Send Customer Phone to Acquired/Banks: By default this will be set to 'No'. If you would like to enable, please contact support via our service desk.
Payment methods configuration
Use the following information to configure the required fields.
- Enabled: Set this to 'Yes' to enable cards as a payment method.
- Method Title: Enter a name for the payment method as it will appear within your checkout, see example below.
- Payment Action: Choose between Authorise & Capture or Authorise, we recommend using Authorise & Capture. (See explanations below for more details.)
- Save Card: Select 'Yes' to save customer card details within Acquired.com.
- 3-D Secure Enabled: Set to 'Yes' to enable EMV 3DS authentication for transactions. This is recommended.
- 3-D Secure Challenge Preference: Specify your preference for whether the cardholder should be challenged during authentication.
- 3-D Secure Contact URL: Provide the URL for the contact or support page of your website.
- 3-D Secure Challenge Window Size: Configure the preferred size of the challenge window during the 3-D Secure authentication process.
- Custom Component Styling: Apply custom CSS to style your payment form. Refer to our styling documentation for more information.
- Enable Google Pay: Set to 'Yes' to offer Google Pay as a payment method.
- Enable Apple Pay: Set to 'Yes' to offer Apple Pay as a payment method.
Authorise & Capture and Authorise
- Authorise & Capture (Auth & Capture):
- Description: This process involves two steps: authorisation and capture. Authorisation verifies fund availability and reserves the specified amount, while capture completes the transaction, transferring funds to the merchant.
- Usage: Suitable for immediate payments where funds are transferred instantly or shortly after the purchase, ensuring funds are available upfront.
- Authorise:
- Description: This step verifies the customer’s payment method and reserves funds without transferring them immediately.
- Usage: Common for scenarios involving delayed delivery, allowing the merchant to capture funds later when goods or services are ready to be delivered.
Pay by Bank configuration
- Enabled: Activates Pay by Bank as an available payment method.
- Bank Payments Only?: Select 'No' to load the Hosted Checkout screen for the Magento implementation.
- Method Title: Enter the name for this payment method as it will appear in your checkout, e.g., Pay by Bank.
- Webhook URL: Provide the URL where transaction status updates will be sent. View the documentation here.
- Redirect URL: Specify the URL to which customers will be redirected after completing their payment. View the relevant documentation here.
Order management
Transactions can be managed from within the Magento Admin Panel or through the Acquired.com Hub. Managing orders through the Magento platform gives you access to all of your transactions. However, for more comprehensive reporting and analytics, you can utilise the Acquired.com Hub.
Check out our guide on managing transactions within the Acquired.com Hub here.
Order Management: Magento Admin Panel
- Open the Sales menu and select Orders.
- Locate the relevant order and select View in the Action column.
- Dependent on the status of the transaction, you will either have the option to process a Void or a Refund.
- Once completed, you can view the voided/refunded transaction within the Acquired.com Hub within the transactions list.
Updated 4 days ago